This is a blog about the creation of a Tudor Gable Headdress from drafting the pattern provided in the book,
The Tudor Tailor by
Ninya Mikhaila and
Jane Malcolm-Davies.
My materials included:
Black velvet, White heavy linen, Buckram, Other white fabric for the lining - It was in the remnant pile and has a wierd pattern on what seems to be a velvet cut material of some odd sort, but it won't be seen on the outside, so I really didn't care what it was made of. Also I found fabulous upholstery fabric for the gold fabric with geometric shapes! Weeee!
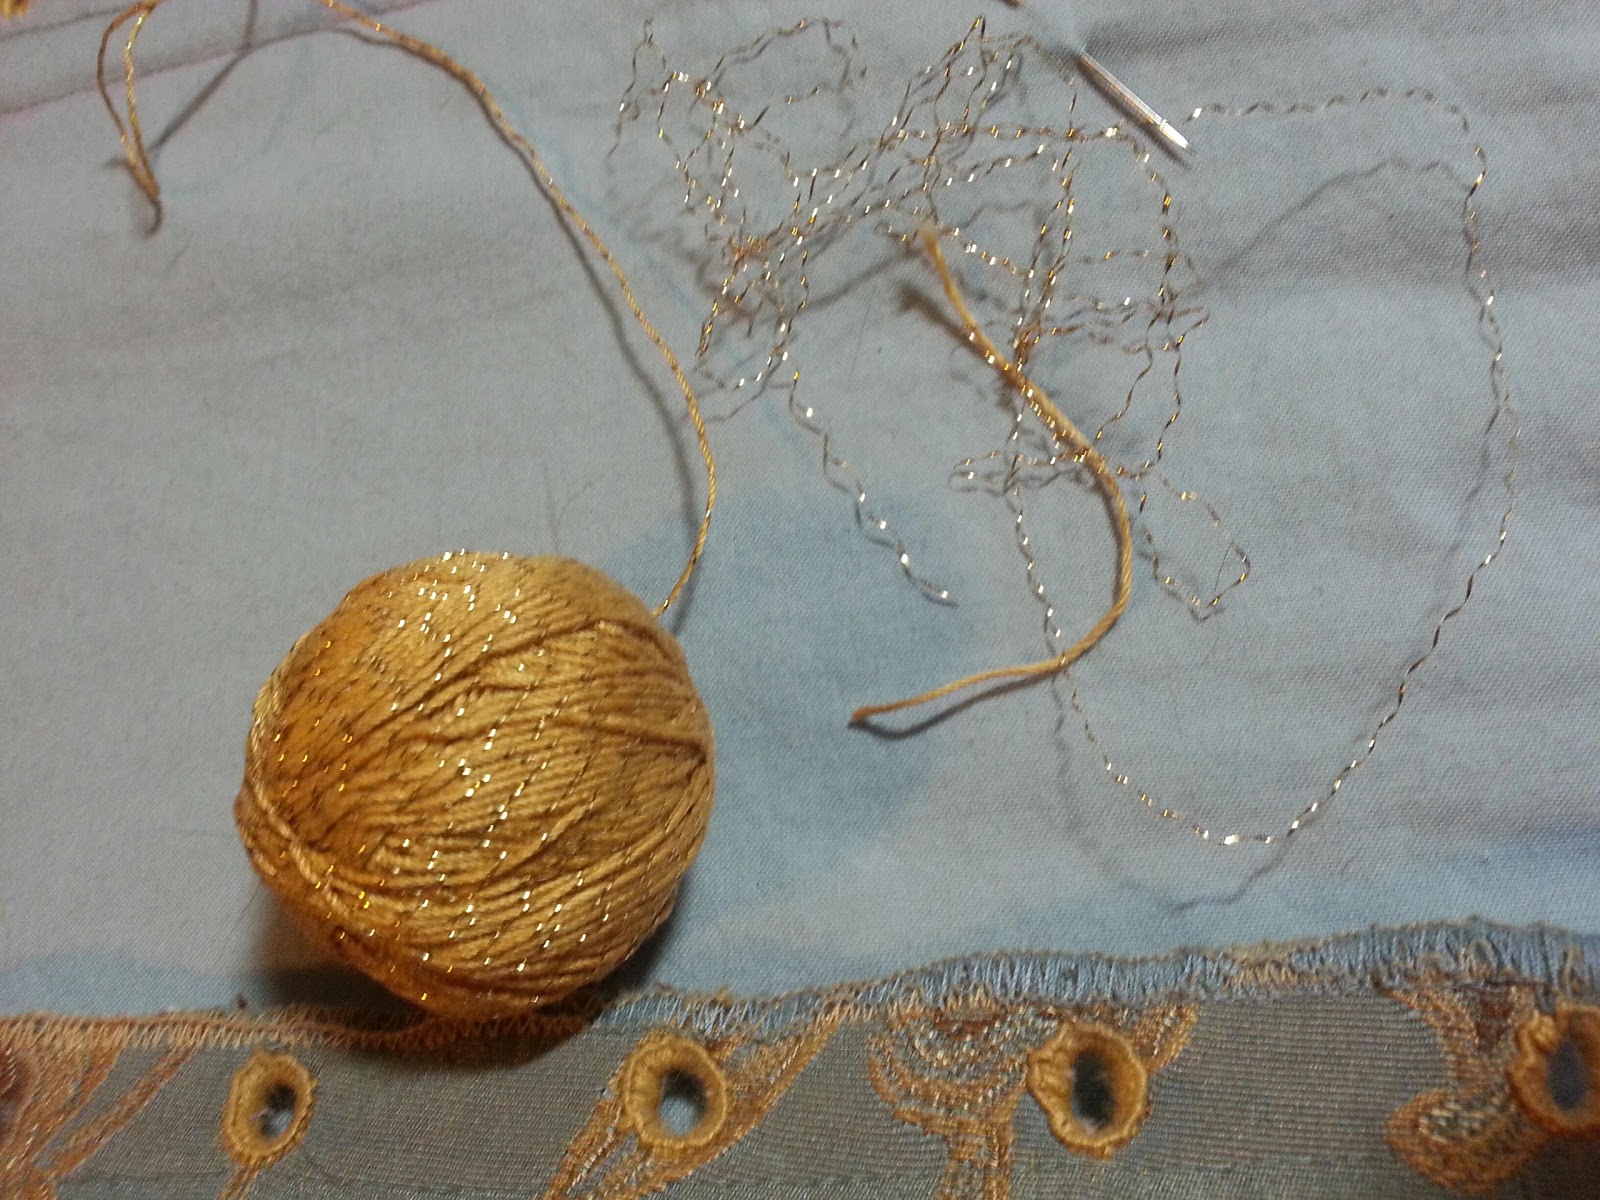
Floral wire covered in fabric, 12 gauge jewelry crafting wire, wire cutters, quilting thread, a thimble.
Please note, I am kind of stuck at this point on making the hat because I haven't quite deciphered the book to tell me HOW to attach the front of gable which will have a jewelry border. Does it center on hat rim or does it go above it or below it? I got frustrated and bored and have put it aside. Maybe I'll pick it up again since I found that
perfect gold fabric for the flap thingy.
I first drafted the pattern on tissue paper you would use for gift bags. It's see thru on my grid board and easy to draft on. Then I cut it out and taped it to a cut open paper bag.

(Left)This is the back of the under cap which is attached to the (right) under cap top after it is folded to form the "Gabled House" look.

I used the lighter 12 gauge jewelry wire for the front edge to help sculpt the side flips. Linen is the bottom layer, then the white lining then buckram and I ended up sewing more linen on the inside for a nice finished look. (Well, an attempted one as you will later see...)
Once I got the lining on and it was all sewn together, I folded the wire frame to make the House shape.
Next is the box backing. This is the most important look to the hat, in my opinion. Well, that and the bling bling.
So, the pattern calls for a square then a long strip that attaches to the square. I decided instead to add the strip to the square around it and cut the fabric so it would fold over the edge so I wouldn't have as much sewing in velvet to do.


If you enlarge the picture on the left you will see that I have outlined in chalk the "strip" to go around the outside edge.
In both pics you will see I hand stitched the fabric covered floral wire around the inside square then for reinforcement, I triangulated two other pieces for the center. The buckram was not enough to make what I felt needed to be a more sturdy hat. I made sure the wires around the upper/outside square had a folded end to make up the brace for each corner to support the upper / outer square. Does that even make sense? Sorry I didn't take of pic of that!
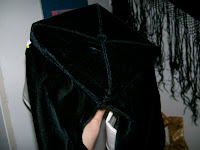
Next was to sew the fabric to make the four corner look. When it was finished, I was quite surprised at how wonderful it looked! It gave it a piping look. I wanted to emulate this Holbein picture:
**please enlarge the picture and look at the back of her gable**
I ended up adding a fabric filled button on the back center to finish it out. I love it!

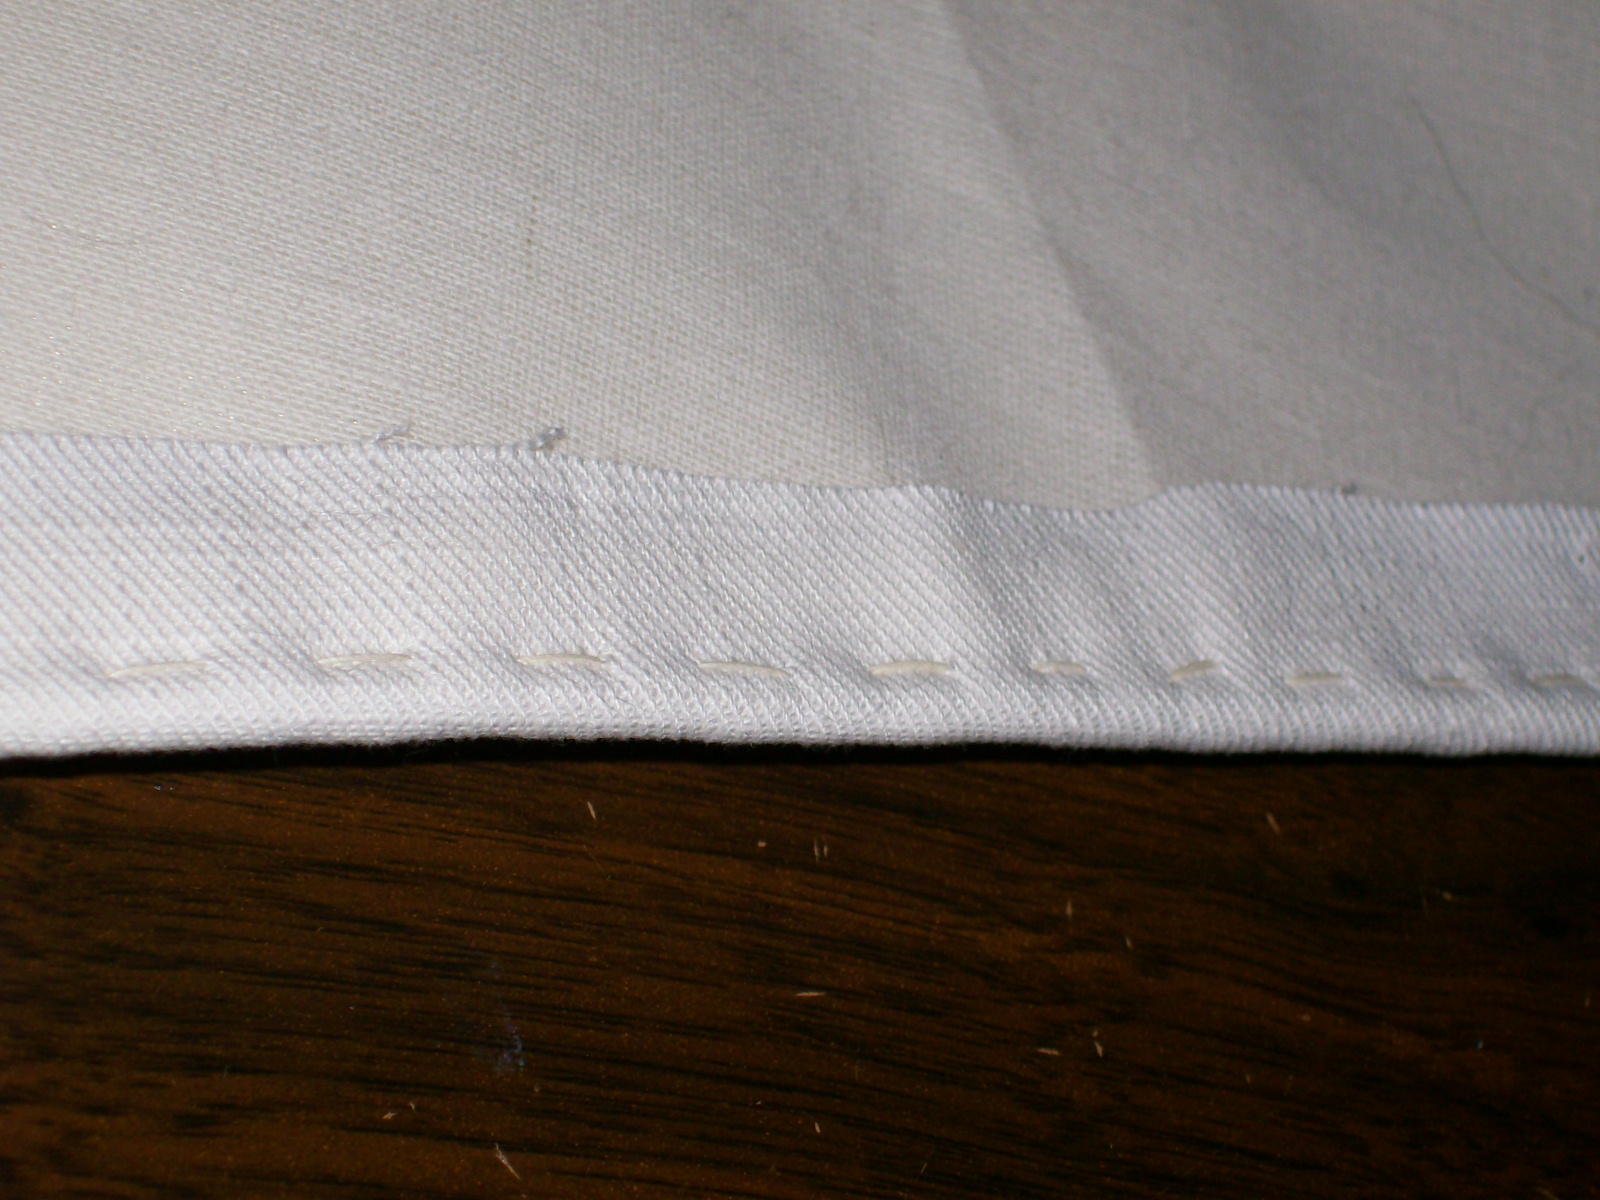
The lappets are done and are waiting to be attached to the back box.


Next is making the back of the under cap and attaching it to the frame. Please notice I ended up using a whip stitch because that seemed easiest to attach.

Hmmm, I wonder how the box will look on the back! Wait a minute....There's a big gap showing the white linen. =( Aw poo. OHHHH! Duh, I have to attach the lappets and it hides the back! YAY!
(this is only pinned for the pics)
Now, about that gold geometric fabric.... This is what I first used, but I think I made them too small (per the pattern...) because there was a whole lot of white linen showing between it and the black velvet. It just didn't look right.
Now the second fabric was a sari fabric with maple leafs on it ... oh lord, I'd have to cover those with pearls for sure, but dangit if it didn't have a geometric pattern around it.
Ohhhh, but the Mothership landed and dropped off a beautiful upholstery fabric for me!
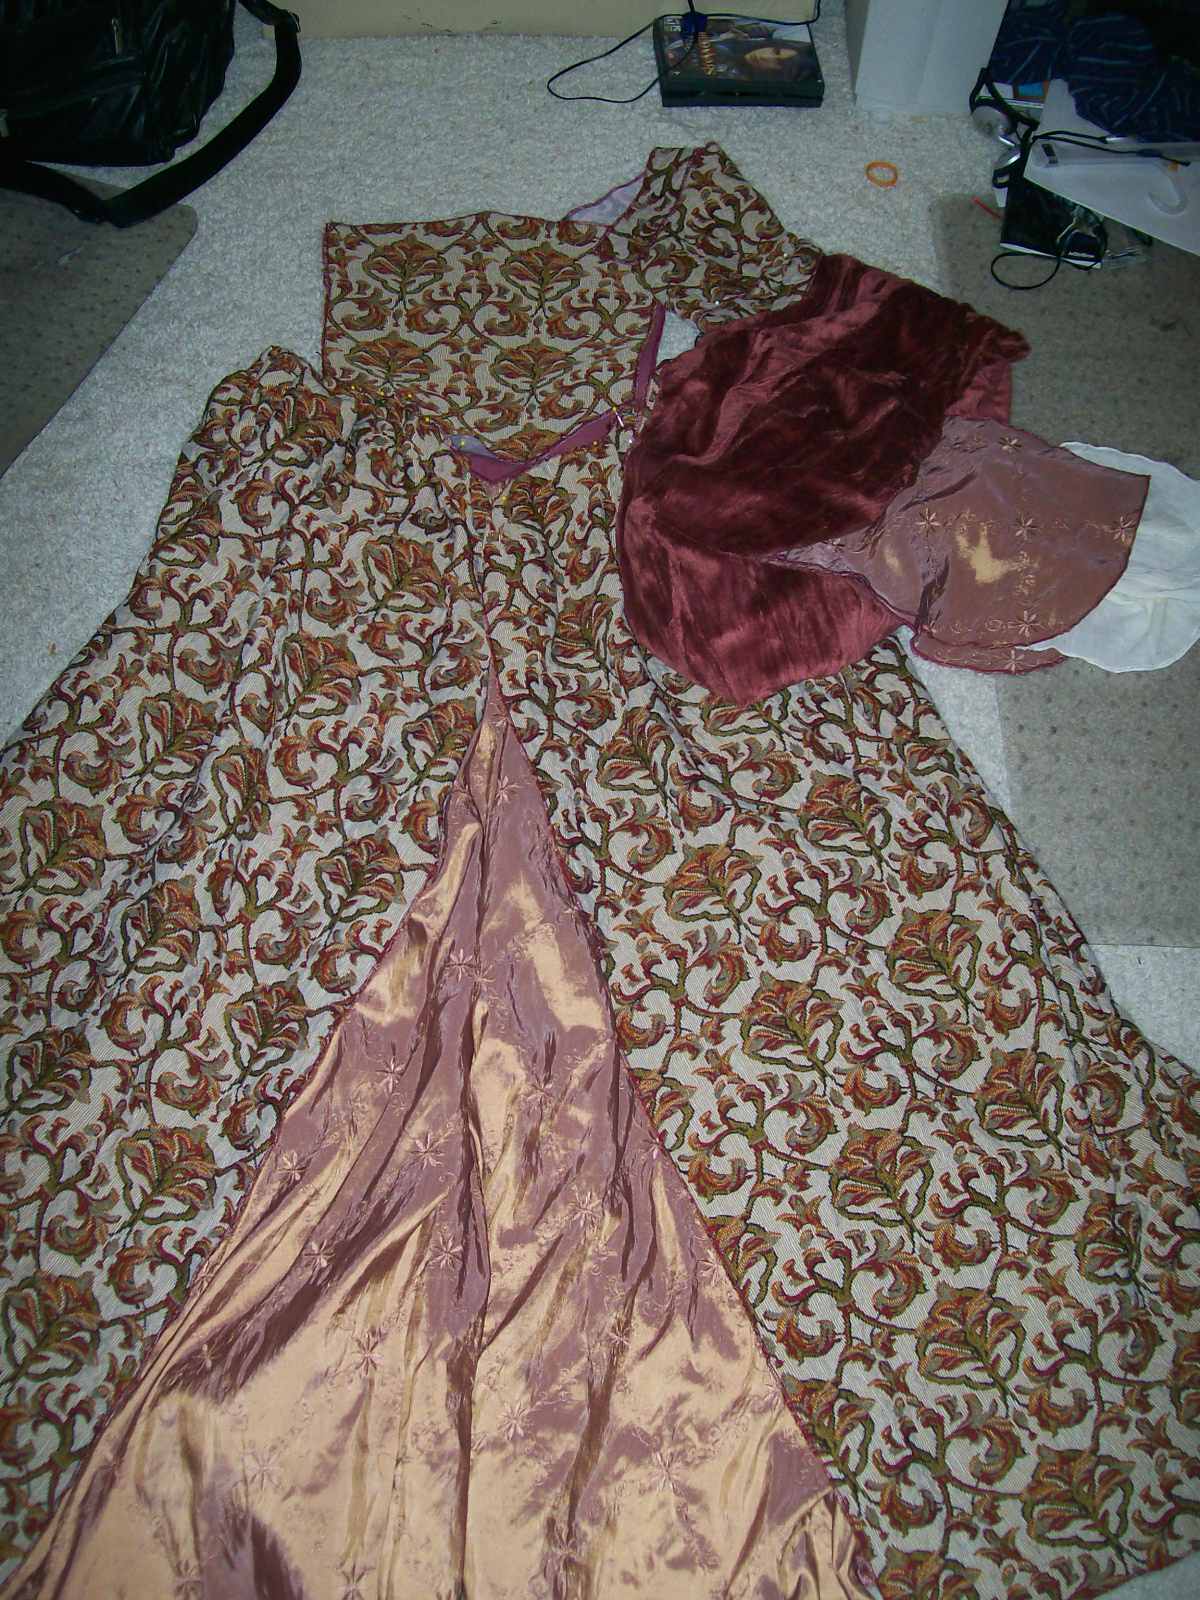
What's even better, is that even though the fabric is not supposed to match your gown, this one has the same color scheme and won't clash too horribly with the pattern of my dress. Below is the cut-out of my dress. That's a WHOLE 'nother diary folks!
I'm hoping to have more on this Gable Headdress soon. You can compare my technique to the wonderful images supplied here:
http://www.uvm.edu/~hag/sca/tudor/ by Alice Nele.
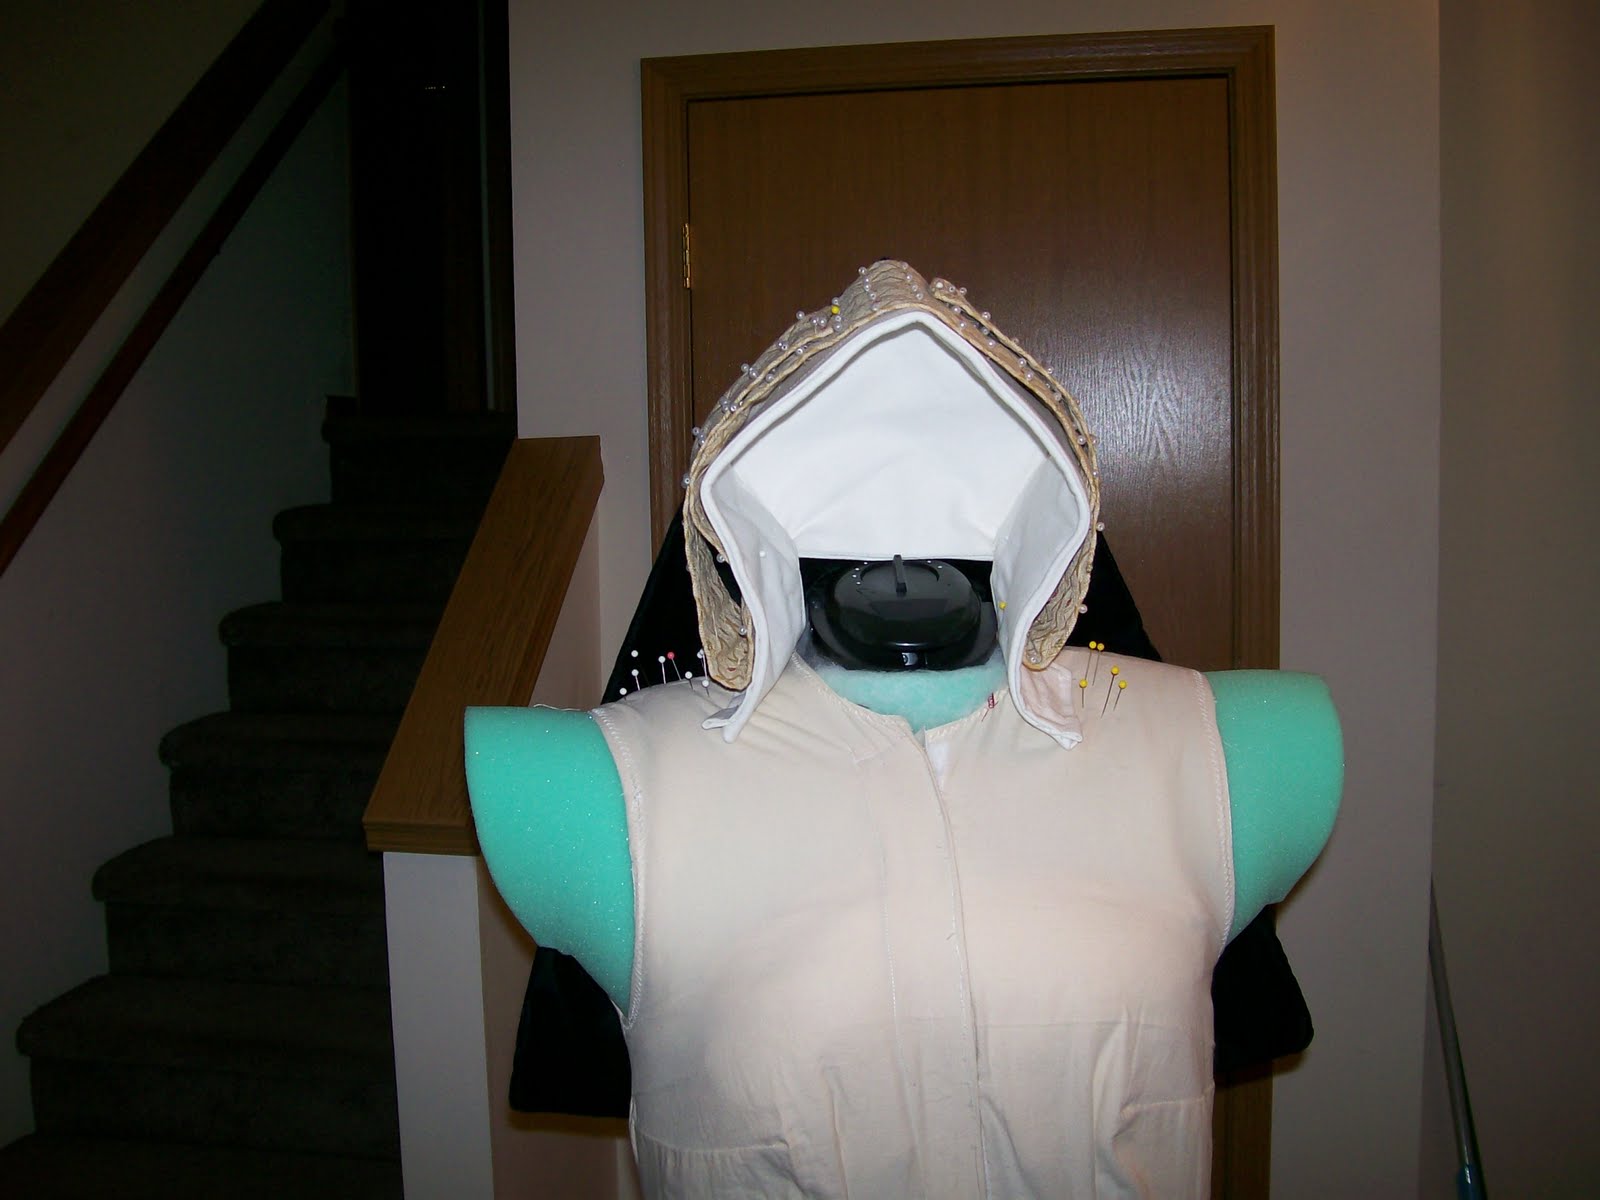
Ok, so here is an update 7.9.10 with more images. The pattern from the Tudor Tailor just didn't work out very well for fitting the shell of the Gable, so designed my own :)
Then, I sewed pearls onto it and hand stitched two sides to the back box.

After I sewed two of the sides to the box, then I fitted it snug to the shell.
My ONLY regret is that I did not pad between the layers of fabric. I think it looks a bit skinny. I have only pinned the gold fabric to the shell so far and will be working on the front part over the next few weeks.
 |
| Finished product |


